Phased refresh strategies to minimize disruption during updates
A phased refresh helps maintain daily routines while updating fixtures, surfaces, and layout. Staging work into manageable steps reduces downtime, preserves functionality, and spreads cost and labor over time. This approach supports careful material selection and targeted improvements for long-term results.

Refreshing a bathroom in phases lets households continue using essential facilities while upgrades proceed. Start with a clear plan that maps functional priorities—safety, water delivery, and basic hygiene—then sequence aesthetic or disruptive tasks. Phasing reduces the need for temporary relocations, limits exposure to dust and noise, and allows homeowners to spread out decisions about materials and finishes. Early-stage planning should identify which areas require closed access and which can be worked on during off hours, helping minimize overall disruption during renovation.
How should tiling and grout work be scheduled?
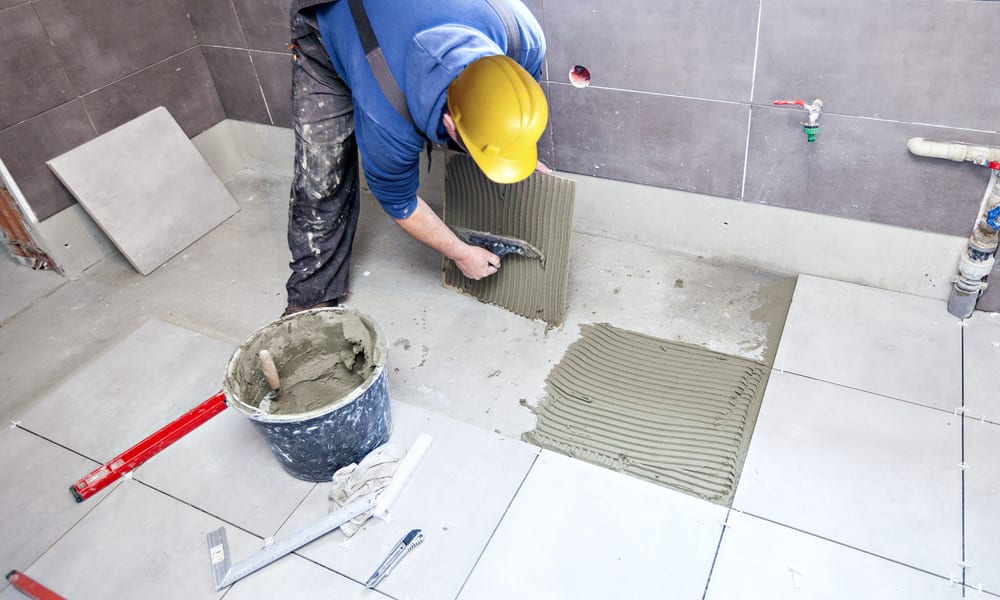
Tiling and grout are typically dust- and water-intensive, so schedule them in a distinct phase rather than alongside plumbing rough-ins. Begin with wall tiles that don’t affect movable fixtures, then tackle floor tiling last in that sequence to avoid damage from follow-on trades. Allow adequate cure time for grout and adhesives before heavy use; this protects joints and prevents rework. Use protective pathways and temporary thresholds to isolate work zones, and choose grout and tile adhesives rated for moisture to support long-term waterproofing and reduced maintenance.
When are fixtures and lighting best replaced?
Coordinate fixture and lighting replacement so electrical and finishing trades overlap efficiently. Replace or upgrade fixtures—sinks, faucets, showerheads—after rough-in plumbing and waterproofing are complete, and before final painting and trim. Lighting should be planned with layout adjustments in mind: add task lighting near mirrors and ambient options for safety. Consider modular fixture swaps that allow the space to stay partly usable; for example, install a temporary basin or portable lighting while permanent items are fitted. This reduces shutdown time and helps maintain functionality.
How to sequence plumbing, ventilation, and waterproofing?
Plumbing and waterproofing are foundational and should come early in the schedule. Complete any pipe rework, inspections, and waterproof membrane installation before finishing surfaces to prevent costly tear-outs later. Ventilation upgrades—such as a larger fan or relocated duct—are best handled alongside electrical work to coordinate wiring and switch placement. Ensure waterproofing is continuous across wet zones, and pressure-test plumbing runs where feasible. Proper sequencing here safeguards against leaks and moisture problems that could compromise later phases.
How can layout, surfaces, and materials be updated incrementally?
When changing layout, tackle structural alterations first in a discrete phase so subsequent trades can follow. If full reconfiguration isn’t possible immediately, introduce incremental surface upgrades—paint, countertops, or partial wall cladding—that refresh appearance without full demolition. Select materials compatible with future phases: choose tile sizes, surface heights, and trim details that won’t conflict with later layout changes. Keeping a consistent palette and durable surface selections avoids mismatches and simplifies later integration when larger renovation stages occur.
How to add storage, accessibility, and touchless features in stages?
Storage and accessibility improvements can be layered: start with low-disruption installs like wall-mounted shelving or grab bars, then progress to built-in cabinets or barrier-free entries when structural work is scheduled. Touchless faucets and sensor lighting are often plug-and-play or require minimal electrical adjustments, making them good intermediate upgrades that improve hygiene and usability. Prioritize measures that enhance safety and daily convenience first—non-slip surfaces, grab handles, and clear circulation—then integrate more involved accessibility remodels in a later phase.
How to integrate sustainability and overall renovation sequencing?
Plan sustainability measures across phases to capture benefits without front-loading all investments. Begin with low-impact choices—LED lighting, low-flow fixtures, and efficient ventilation—then incorporate longer-term items like water-efficient showers, reclaimed or FSC-certified materials, and energy-smart ventilation controls in later stages. Staging allows you to evaluate outcomes from early sustainability upgrades before committing to more extensive measures. Keep records of materials and assemblies to streamline future work and ensure durable, recyclable surfaces are used where possible.
Conclusion A phased refresh balances practicality with design goals by sequencing high-impact, high-disruption tasks first and layering lower-impact improvements thereafter. Thoughtful coordination between tiling, grout, fixtures, lighting, ventilation, plumbing, waterproofing, storage, accessibility, and material choices smooths workflow and reduces downtime. Planning for durability and sustainability during each phase preserves options for future renovations and helps maintain household routines while upgrades proceed.


